Tables
Tables help in organizing information in an easy to understand format. Complicated tables or tables that do not have table row headers are difficult for students using assistive technology to navigate. Keep in mind that tables created in Microsoft Office are read from left to right from the top to the bottom. If large amounts of data are placed in a table, then students can quickly lose track of where they are within the table and nothing will make any sense to them. Tips on using tables:
- Keep the table design simple and easy to navigate using the tab key or the arrow keys.
- Blank cells will lead students who use assistive technology to believe there is no more information in the table. Avoid using blanks cells for formatting purposes.
- Always use the Insert/Table command on the Ribbon. Do not create tables using spaces or the Tab key.
- Use alt text to add a description about the table. Keep the description brief.
- Use table row headers. A table row header is the row that lists titles for the information that falls below the row.
- If the table is long, consider repeating table headers to aid in navigation, especially when the table is split across two pages, or creating several smaller tables.
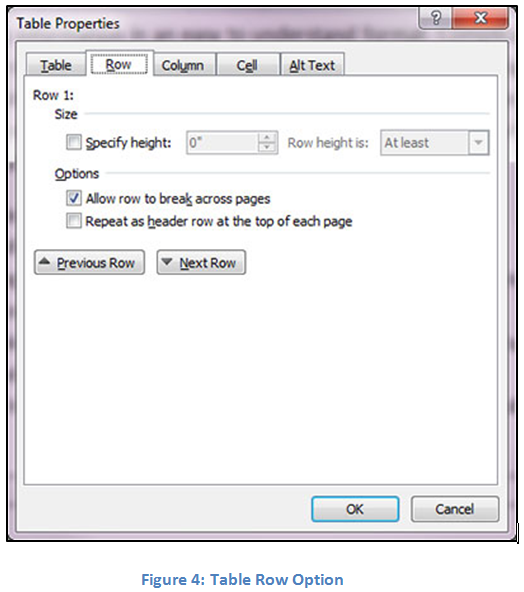
To add table row headers:
- Right-click on the table.
- Select Table Properties (Figure 4). Click the Row tab Place a check in Repeat as header row at the top of each page.